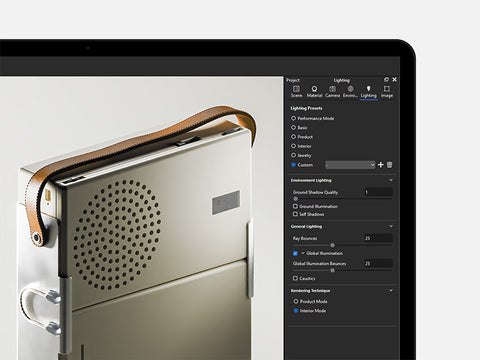
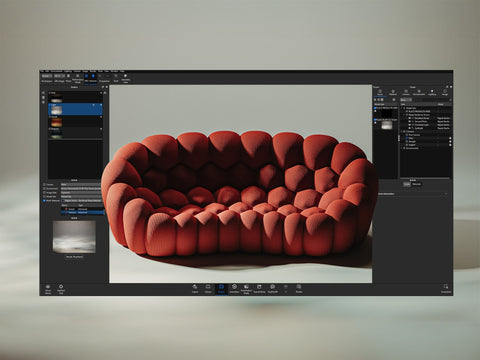
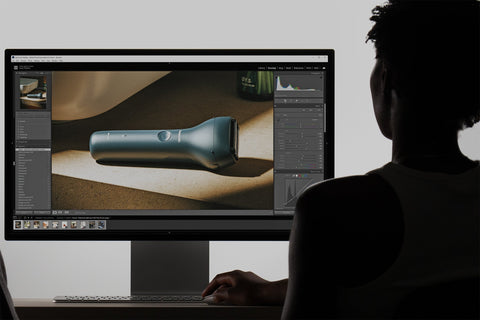
When it comes to producing high-quality renders in KeyShot, the Lighting tab plays a crucial role in determining the realism of shadows, materials, and overall scene illumination. In this post, we’ll take you through each setting and try to determine a go-to for you to use in KeyShot.
First Things First: Ignore the Presets. While KeyShot offers a range of lighting presets (Performance, Basic, Product, Interior and Jewelry), this post intentionally ignores the values bundled within them. Instead, we're exploring how the individual lighting settings (Global Illumination, Ray Bounces, Product/Interior Mode etc.) affect rendering results. After this read, you won’t need to use the presets ever again.

Interior Mode vs. Product Mode: What’s the Difference?
These lighting algorithms have unique impacts on how scenes are rendered, particularly when it comes to enclosed spaces, translucency and shadows. After speaking with KeyShot, we established that HDRI lighting samples more accurately in Interior Mode. Theoretically this should produce better shadows in scenes that rely heavily on HDRIs, especially with small, bright light sources.
We put this to the test running identical render from multiple scenes, both in product and Interior Mode. Each of these is rendered at 25 global illumination (GI) and 25 ray bounces.

Product Mode
-
Optimized for open scenes (not enclosed by geometry)
-
Light moves more freely through translucent materials.
- Better suited for clean simplistic renders, but often lacks the complex light behavior that occurs in realistic enclosed scenes.
Interior Mode
-
Designed for enclosed spaces where light must bounce multiple times to illuminate the scene accurately.
-
Even with low ray and global illumination bounces, shadows still form clearly.
-
In enclosed scenes, surrounding materials and objects are affected more by colours in the scene, resolving a more realistic and cohesive image.
What about material Behavior?
Different materials respond uniquely depending on the lighting mode. For Translucent Medium (e.g. curtains):
-
-
We prefer to use Interior Mode when rendering curtains as it seems to preserve texture detail and shadow diffusion.
- Product Mode tends to blow out these materials, as though more light is passing through them.
-
We prefer to use Interior Mode when rendering curtains as it seems to preserve texture detail and shadow diffusion.
What are Ray Bounces vs Global Illumination Bounces?
Ray Bounces are defined as “the maximum number of times light is reflected or refracted as it passes through the scene.”
Global Illumination Bounces are defined as “the maximum number of times light is reflected diffusely as it passes through the scene.”
Ray Bounces:
-
Ray bounces are essential for any light transmission through transparent or translucent materials.
-
With 0 ray bounces, global illumination does absolutely nothing, meaning even if GI is enabled, it won’t illuminate the scene.
-
As soon as ray bounces are set to 1, GI begins to take effect.
-
Increasing ray bounces from 1 to 15 shows a substantial visual impact for transparent materials.
- Beyond 15 ray bounces, improvements continue but are increasingly minor, with diminishing returns near the 20-bounce mark.

Images featuring Viu by Alex D’Souza
Global Illumination:
-
Global illumination bounces enhance how light reflects off diffuse materials — they don't control direct light penetration.
- Once ray bounces are properly set, GI bounces help spread light softly across surfaces, but most of the visual improvement happens in the first few bounces.

To ensure the lighting settings aren’t biased towards transparent or opaque materials, we’re going to keep GI and ray bounces equal going forward.
How Many Bounces Do You Need?
Both ray bounces and global illumination bounces are essential for achieving realism.
Beyond 25 Ray and GI bounces, the visual improvements are minimal, with diminishing returns on render quality and a slight increase in render time (23 minute render with 25 bounces and a 31 minute render with 256 bounces.

Generating Caustics:
Caustics are defined as the projection of focused light reflected or refracted by a curved surface or object. They are a complex but often overlooked feature. Here's what we discovered:
-
Caustics should only be used when the render focuses directly on a transparent or highly reflective material. If caustics is used in interior scenes, fireflies and anomalies can appear.
-
Caustics are directly affected by the value of light sources and refractive index of the material that the light is projected through or on.
- The main factor when it comes to achieving realistic caustics on a transparent object are ray bounces.

-
Global Illumination helps smooth out caustics very slightly.

Miscellaneous Observations:
-
The Ground Shadow Quality slider (values 1 - 5) only has an impact when there is no geometry on the ground. Even then, the difference is negligible. It makes no visible difference to shadows cast on ground materials either, indicating it may be redundant or only impactful under specific circumstances.
-
Smooth Global Illumination only appears when in CPU render mode and is supposed to smooth out noise from indirect light bounces. However, in our testing, it caused interior scenes to become patchy as they resolved. We recommend disabling this when rendering with CPU and letting Denoise do the smoothing instead.
- In Interior Mode, scenes that aren’t fully enclosed (like open studios) show slightly improved detail in fine textures

Final Thoughts:
While both Interior and Product Mode have their places in a rendering workflow, the differences in results are fairly minor, only seeing drastic changes in very specific scenarios:
- Interior Mode provides consistency across a wide variety of scene set ups, and has a major impact in creating realistic lighting in interior set ups.
-
Product Mode deals better with translucent materials, although the main dependent factor for producing clean, realistic renders of clear products are ray bounces.
-
Caustics can enhance the visual output when rendering clear or reflective products, but they also increase render time and can produce noisy artifacts when used in more complex scenes. Only use caustics when it’s relevant.
-
We recommend sticking with 25 ray bounces and 25 GI bounces across all renders for the best balance of quality and render efficiency.
Whether you’re lighting a product in a studio or crafting a photo-realistic interior, understanding how these modes impact your final image can be the key to unlocking your full rendering potential in KeyShot.
Final Settings:


